There’s a very specific kind of pressure that comes with burgers.
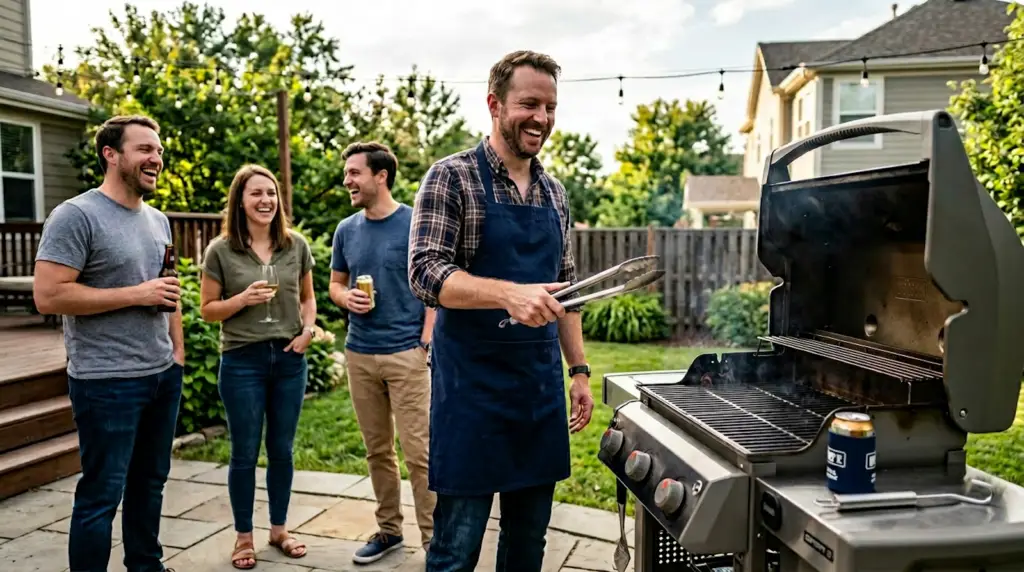
Chicken can be sliced open. Steak feels fancy, but it’s forgiving. Ribs take so long you could binge-watch your favorite Netflix series while they smoke. But burgers? Burgers are the main event. They’re what people smell when they pull into the driveway. They’re what make the neighbors drool as they peek over the fence.
And at some point, someone will ask, “How much longer?” That’s when you either answer confidently… or pretend you heard your partner call you from inside the house.
The Straightforward Answer
If you’re grilling standard ⅓-pound 80/20 burgers that are about ¾ inch thick, you’ll need about 3 to 4 minutes per side over medium-high heat. Your grill should be sitting somewhere around 400–450°F.
For medium, pull them at 135–140°F before resting. A little earlier if you like them pinker. A little longer if your crowd prefers them more done.
For reference, USDA food safety guidance for ground beef is 160°F. Go that route if you want zero second-guessing at the table.
That’s the math.
But burgers are less about math and more about feel. If you’re trying to build a go-to burger that works every time, these weeknight burgers that don’t suck make a great starting point.
Start With Heat That Means Business
Burgers need real heat. Not “low and slow.” Not “gentle warming.” They need enough energy to form a crust quickly so they don’t just sit there slowly drying out.
Medium-high heat is your friend here. If you’re still getting comfortable managing grill heat, grilling basics for regular people breaks this down in a way that actually makes sense. On gas, that’s typically 400–450°F. On charcoal, it’s when you can hold your hand a few inches above the grate for about three seconds before pulling away and nodding like, “Yes. That feels right.”
If the grill’s too cool, the burgers sweat. If it’s nuclear, they blacken before the middle catches up. We’re not trying to impress the neighbors with flames. We’re trying to feed them.
Clean grates. Light oil. Lid closed between flips. Let the grill do what it was built to do.
The Flip (And Why You Only Need One)
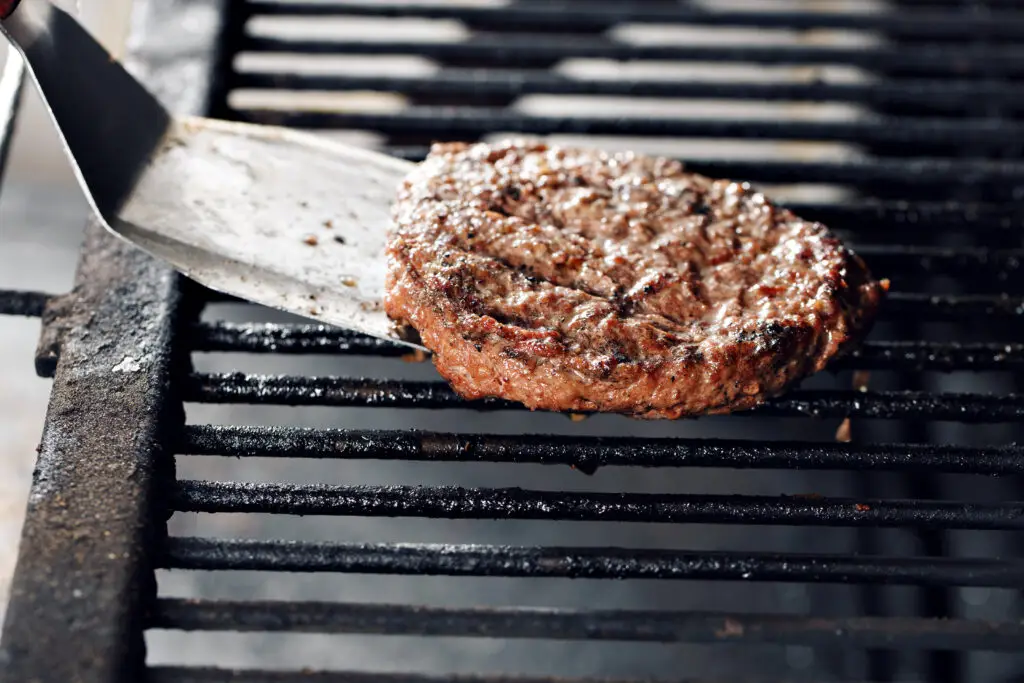
This is where anxiety shows up. You’ll be tempted to flip early. Then flip again. Then rotate them “just to be safe.”
You really only need one flip.
Put them down. Leave them alone for about 3–4 minutes. You’ll see juices start to pool on top. When they’ve developed a proper crust, they’ll release naturally from the grates. If they’re sticking, they’re not ready. That’s not a failure. That’s physics.
Flip once. Cook the second side another 3–4 minutes.
The burger does not benefit from constant supervision. It benefits from confident neglect.
When to Add the Cheese
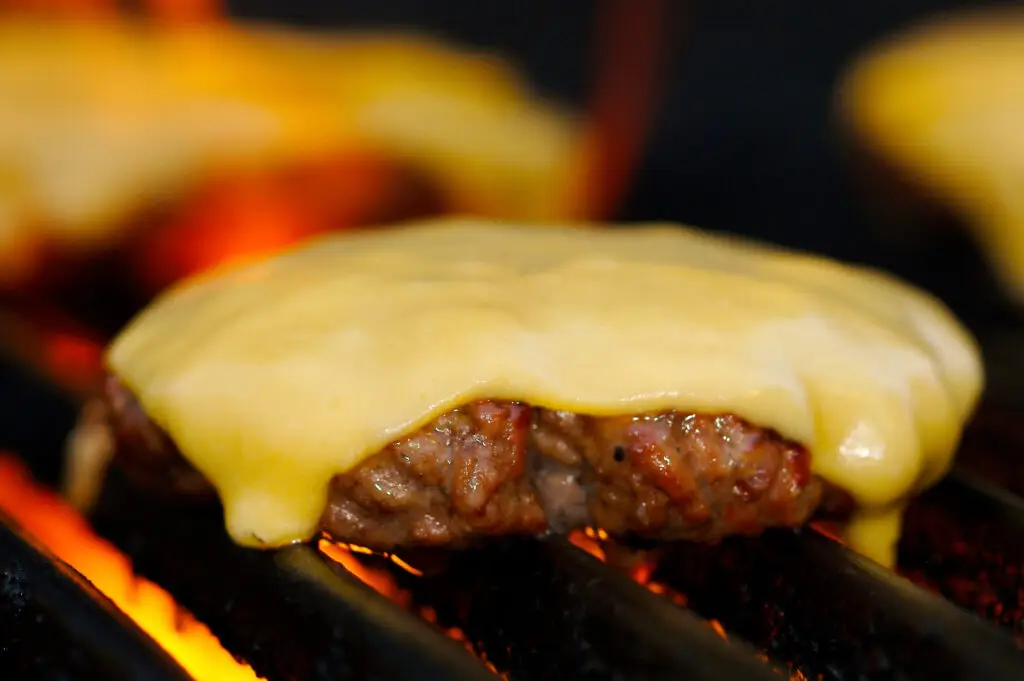
If you’re doing cheeseburgers (and let’s be honest, most of us are), add the cheese during the last minute or two of cooking. Once you flip and the second side is nearly done, lay the slice on top and close the lid. The trapped heat melts it gently instead of turning it into a sheet of lava sliding down the sides.
You’re not trying to fully cook the cheese. You’re just helping it relax into the burger. If it looks slightly softened and glossy, you’re there. If it’s running off the sides and fusing with the grates, you waited too long — or got distracted telling a joke. It happens.
So… How Do You Know They’re Done?
This is the part that makes people sweat.
Ground beef carries more anxiety than almost anything else on the grill. No one wants to serve something undercooked. And no one wants to serve hockey pucks either. Well, except for that one guy who also puts ketchup on his steak.
The most reliable answer is a simple instant-read thermometer. If you’re unsure how often to check without obsessing over it, here’s when to check meat temperature. Insert it into the thickest part of the patty. You’re looking for 135–140°F for medium. Not 170°F “just in case.” Not 180°F because you got distracted. Pull them at temperature and let them rest a couple of minutes while you toast buns or referee a hot dog debate.
If you don’t have a thermometer, you can gently press the center with tongs. A done burger will feel firm but still spring back slightly. Very soft means it needs more time. Rock-hard means you’re probably calling out for pizza.
And yes, cutting one open works in an emergency. But treat that as the sacrificial burger. The others deserve better.
The Most Common Mistake
Dry burgers almost always happen because of fear.
Someone leaves them on an extra two minutes “just to be safe.” Or presses down with the spatula because that sizzling sound feels productive.
That sound? That’s juice escaping. That’s flavor leaving the building.
Trust the timing. Trust the temperature. Pull them when they’re ready. Not when you are.
A Quick Word About Resting
Even burgers deserve a minute or two off the heat. If you’ve never paid attention to this step before, here’s why resting meat matters more than most people realize.
You don’t need a ceremony. Just let them sit while you get the buns ready and figure out who asked for no onions but is absolutely going to steal someone else’s with onions.
That short rest keeps the juices inside the burger instead of on the plate. It’s a small move that makes you look like you knew exactly what you were doing all along.
Keep It Simple
Grilling burgers isn’t complicated. It just feels high stakes because everyone has an opinion.
But here’s what actually matters:
Medium-high heat. About 3–4 minutes per side for a ¾-inch burger. Pull at 135–140°F for medium. Let them rest. That’s it.
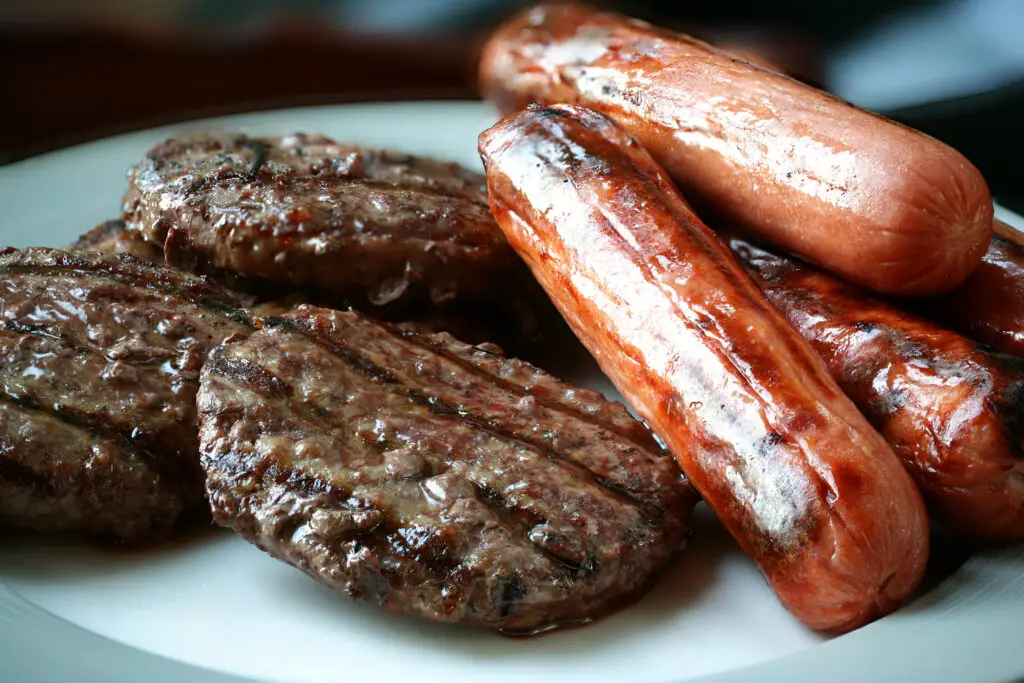
After that, it’s buns, toppings, and watching your friend take the first bite.
If there’s a quiet nod and a thumbs-up while they’re desperately trying to keep the juices from dripping from the corners of their mouth, you nailed it.
If this feels like your kind of BBQ…
Join the BBQ Crew below for practical BBQ tips, easy recipes, and backyard ideas that work.
No spam. Just good BBQ.